Power supply tripping breaker?
Published @ 10-09-2021
— Limiting current by adding a coil.
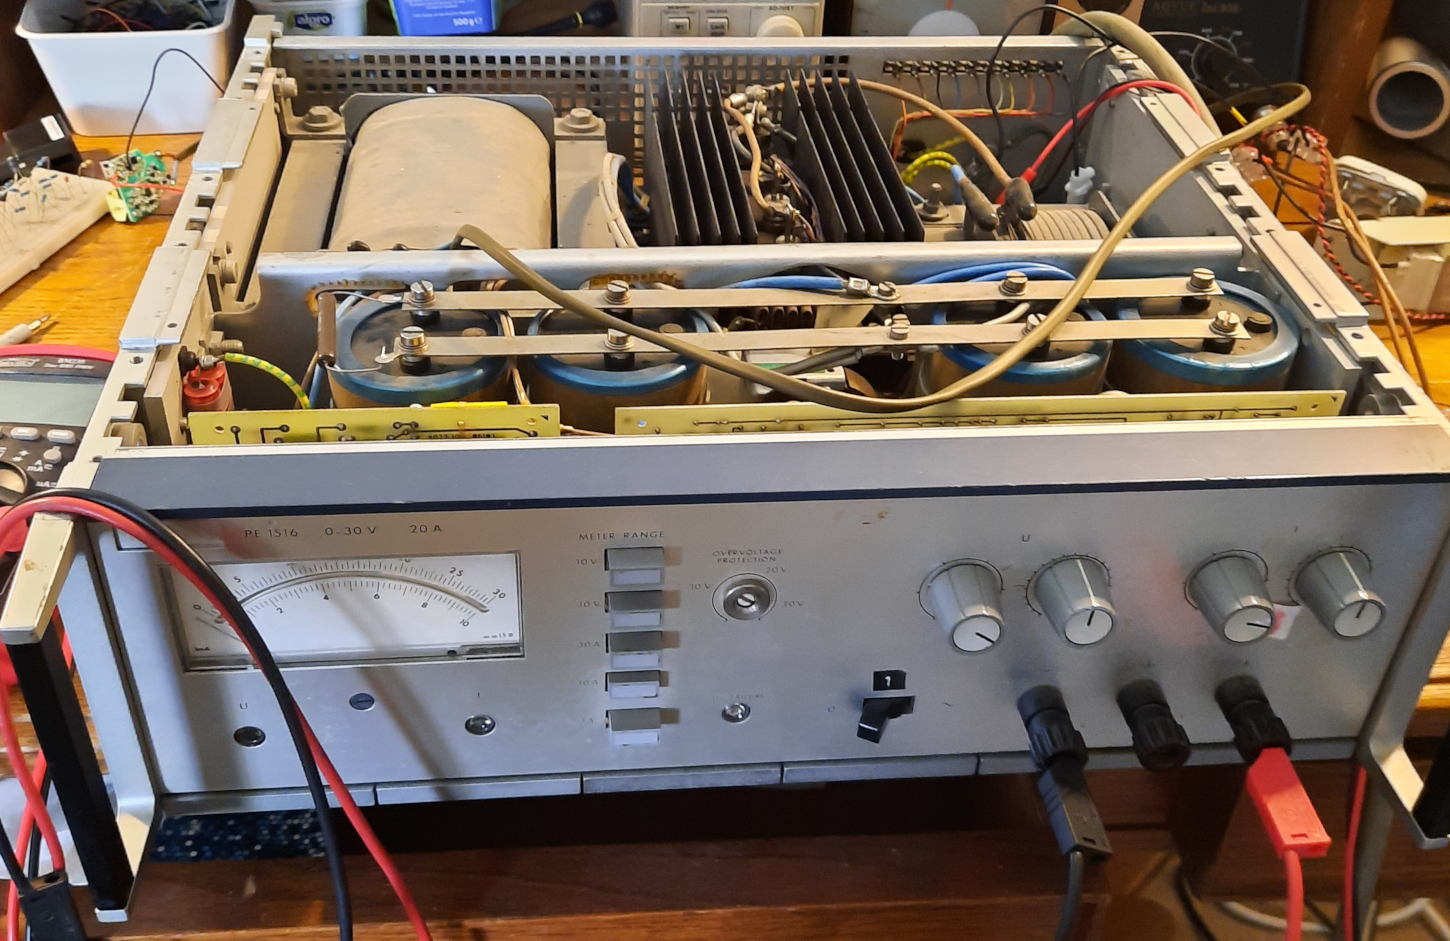
I recently picked up this power supply off of marktplaats for 35 bucks, good deal!
Sadly the supply had a few problems - when the unit switched on, the breaker tripped.
and the fan was making a rattling noise probably a broken bearing?
So I decided to make a softstarter using a electrical ballast, a relay and a 555 Timer,
and also replace the fan with a standard 12v pc fan while I was at it.
the supply on radiomuseum
Breaker
✨ Inrush current ✨
This is a fairly beefy 30V/20A power supply, which means it can handle large fluctuations in output current.
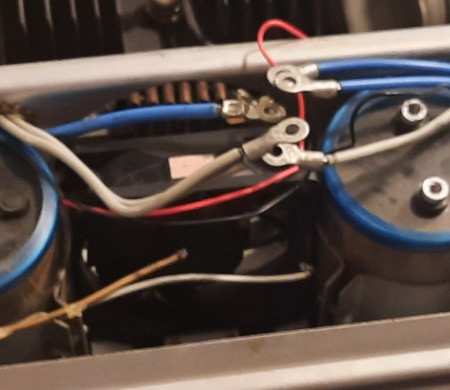
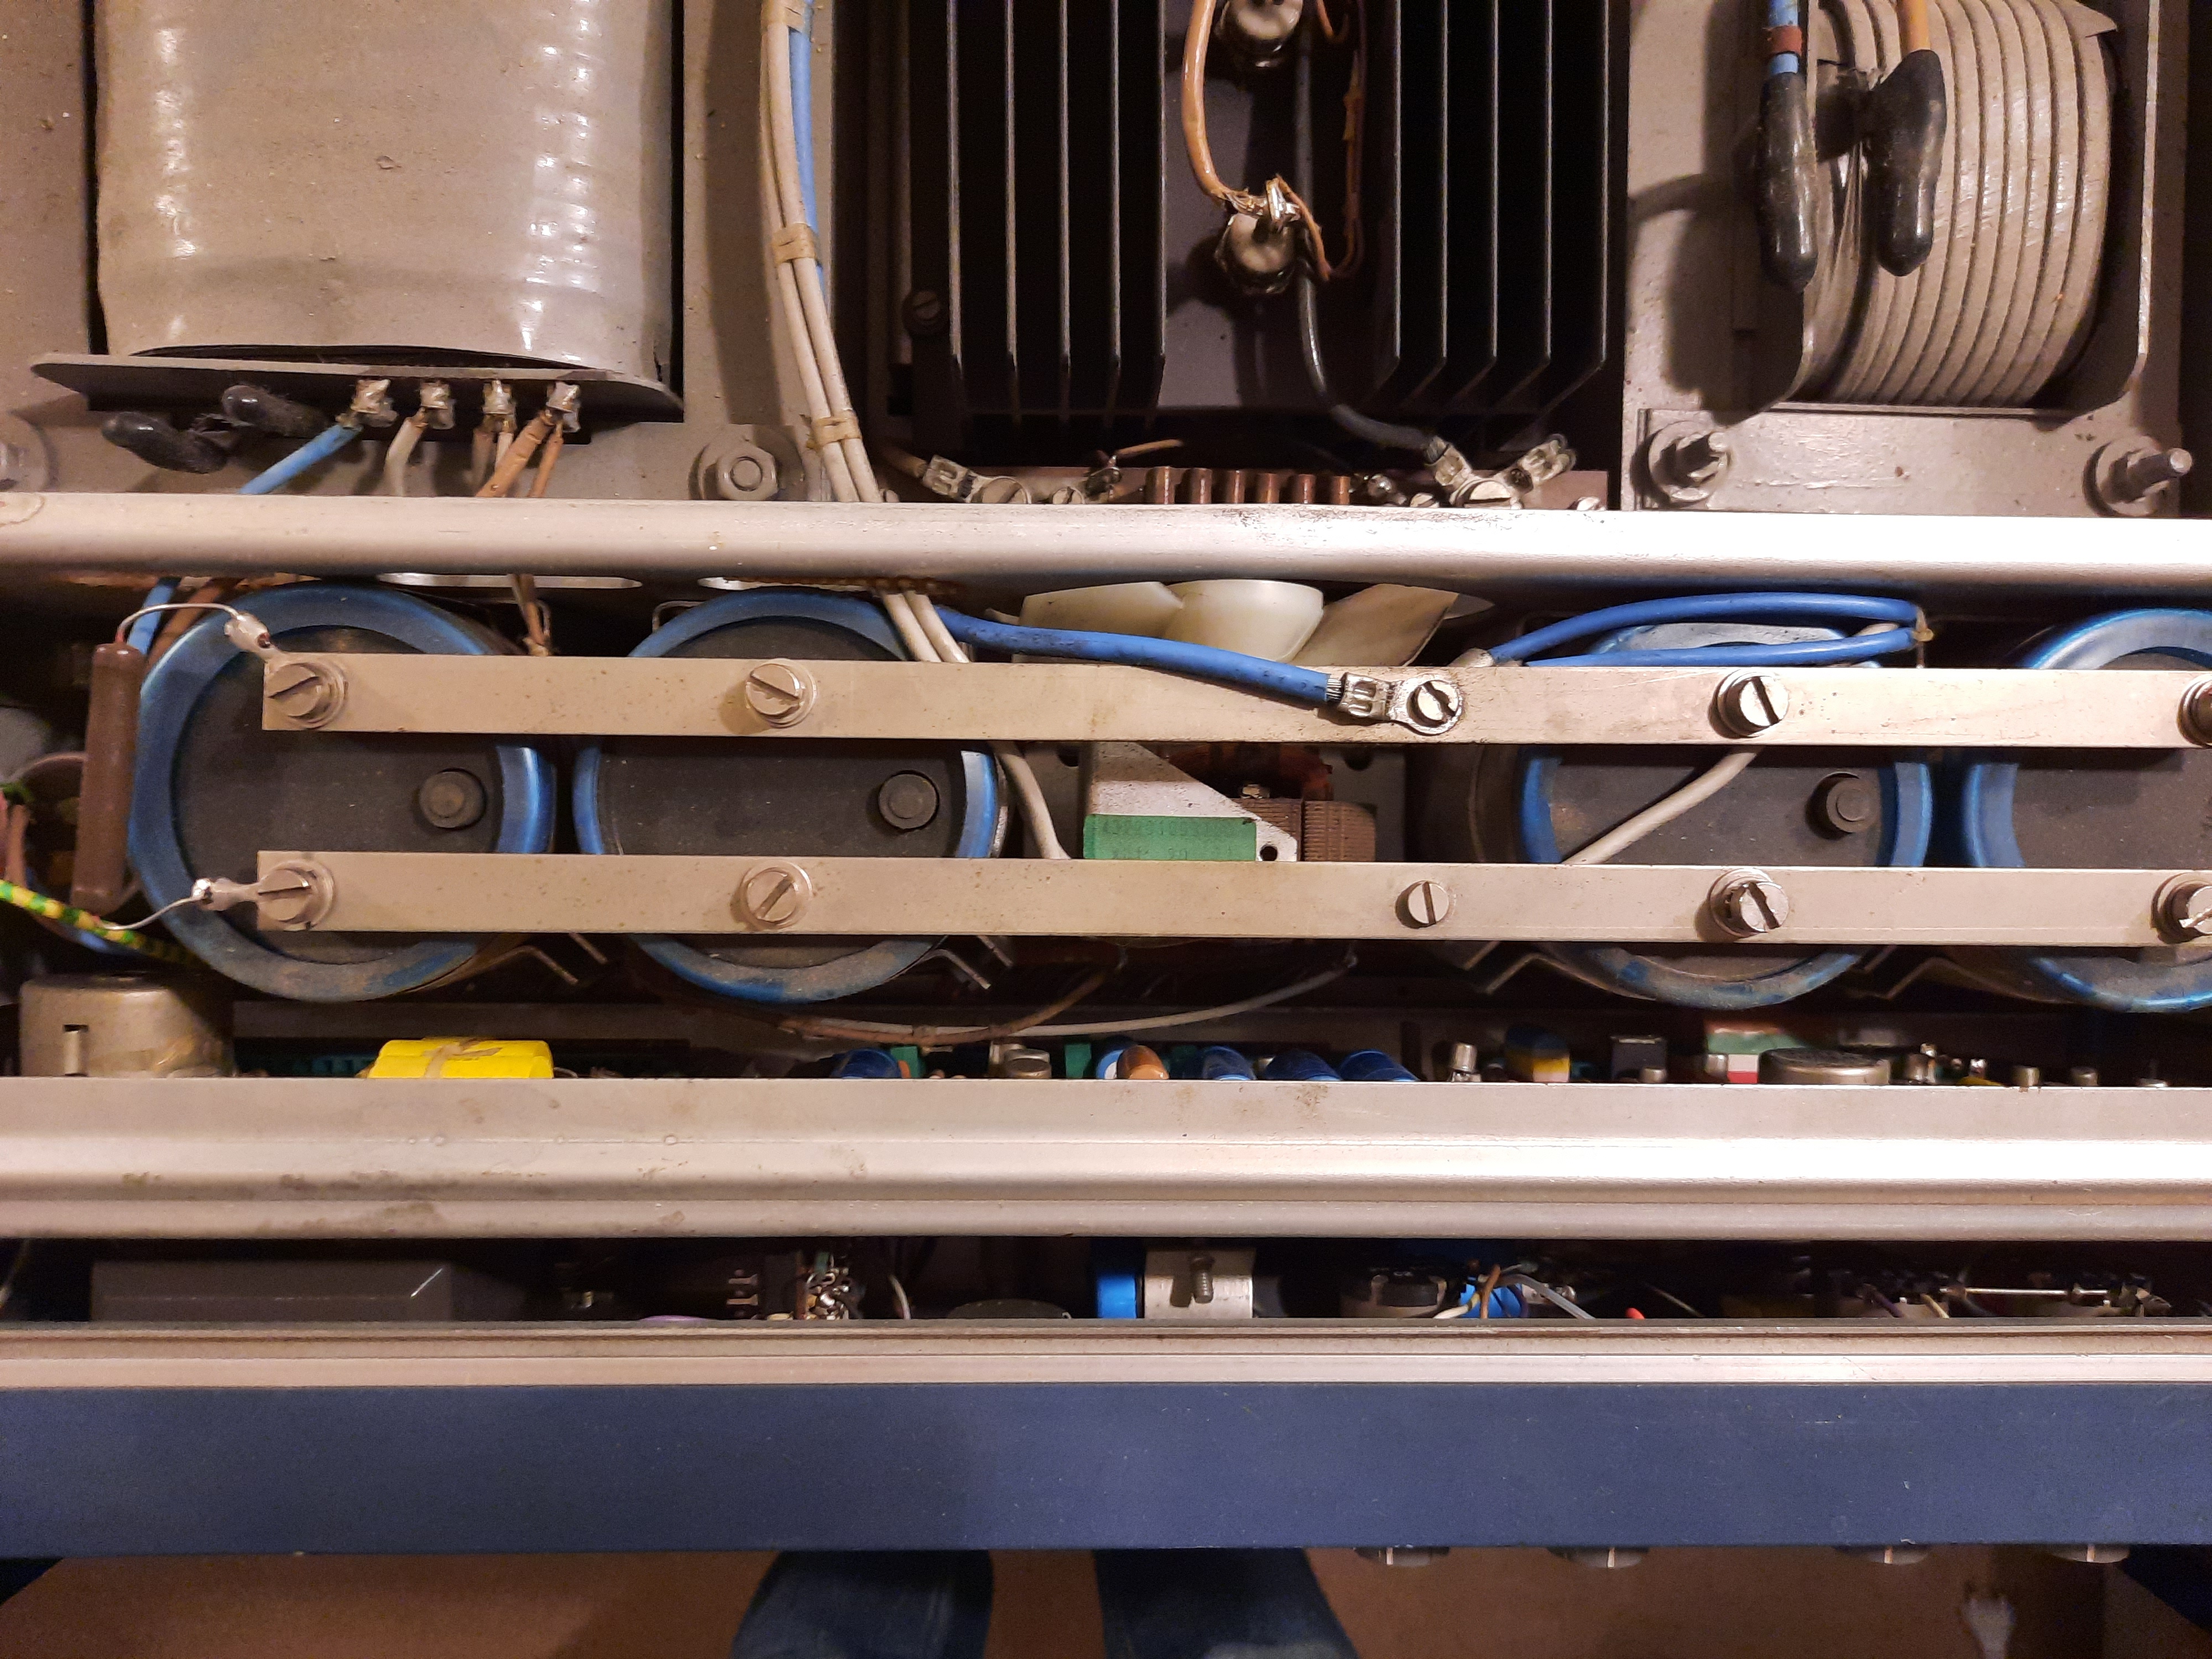
It accomplishes that by having 4 big capacitors (img here) on the output rail buffering the current.
These capacitors are also the reason for the large inrush current causing the breaker to trip.
They will fully charge themselves when you switch on the supply, causing a huge current spike. My circuit breaker did not like this even though it is rated at the standard 16amps.
Softstarter
A softstarter is a device that temporarily reduces the voltage or current to a circuit. Usally it uses a ton of fancy switch mode shenanigans to accomplish this. I made a very simple one using a electrical ballast, a relay and a 555 timer.
An electrical ballast can usally be seen in fluorescent light fixtures.
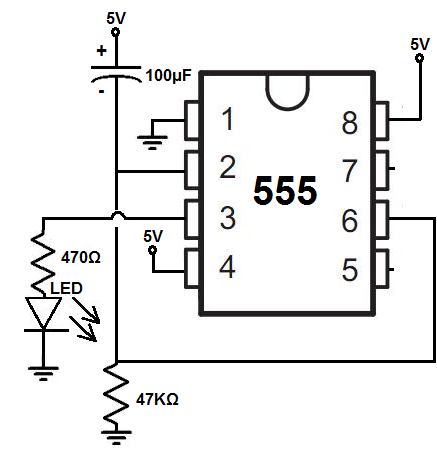
This is a the delay circuit I found over at learningaboutelectronics.
Combine that with a relay switching an electrical ballast, and you’ve got a softstarter.
The setup works as follows;
- When turning on the power supply, the line voltage goes through the ballast by default.
- There is a 5V USB adapter which gets power from the same line voltage, and powers the timer circuit.
- After 2 seconds the timer switches on the relay, bypassing the ballast allowing normal current flow. Allowing the power supply to function normally again!
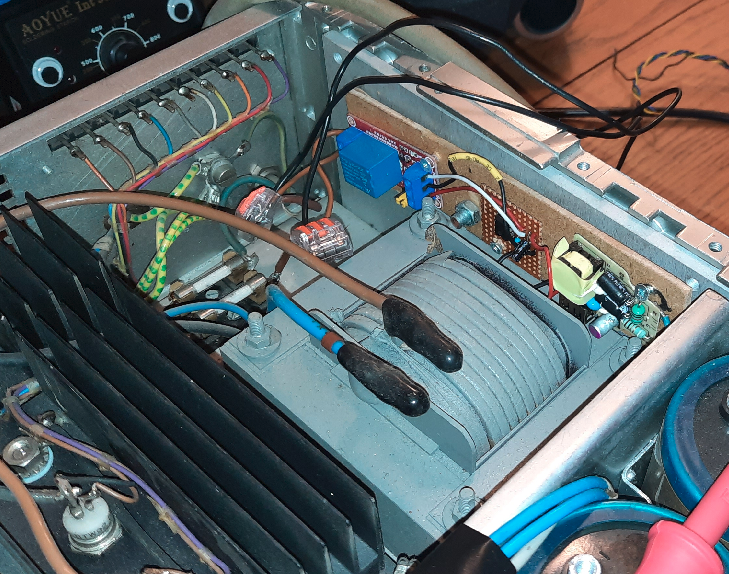
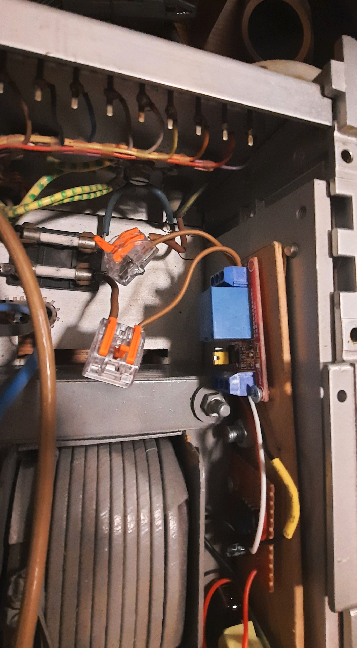
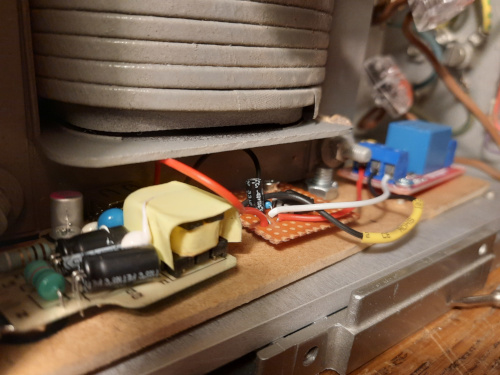
Here are some assembly pics
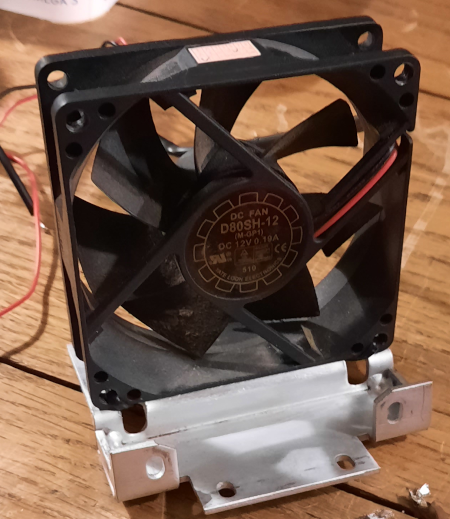
Fan replacement
The original fan was mounted on a bracket which is connected to the chassis of the supply.
I just zip-tied a modern pc fan to it, and hooked it up to a boost converter.
There were some clearance issues with the new fan.
That was easily fixed with a rotary tool carving away the edges until it fitted.
The fan assembly was done, so now it was time to put it back together.
I connected the input of the boost converter to the output of the 5v board, and the mounting bracket with the new fan back onto the chassis.
the installed fan looked like this